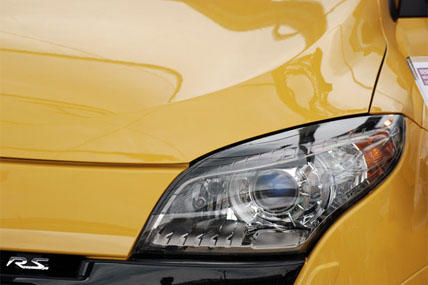
You can have the fanciest wheels but it won't matter much if your headlights aren't working (and as we know from numerous movies and cop shows, a burned-out light will lead to an unwelcome stop by a highway patrol car). Fortunately, replacing a headlight bulb is a relatively painless process.
Tools you need:
- New light bulb(s) -- Make sure you get the right type of bulb for your vehicle (your local auto parts store should be able to match a bulb with your make and model)
- Alcohol wipes and tissues (to clean and hold the new bulb)
- Phillips screwdriver
Step 1: Locate the headlight holder
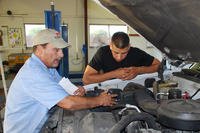
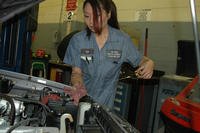
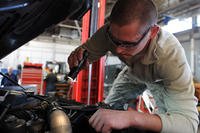
You'll access your headlight bulb through your engine compartment, rather than from the front of the car. Open your hood and locate the headlight near the front of the vehicle. It will be in a bulb holder, with a power connector (usually three wires) leading to the bulb.
Step 2: Remove the power wires
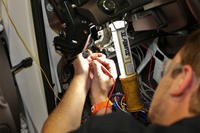
The power wires are attached to a plug at the base of the headlight, and held by a plastic catch, a metal clip or a screw cap, depending on your vehicle. The plastic catch will have a small lever at the top -- push down on it while you pull the plug out. If you're dealing with a metal clip, pull it up and away, and be sure to hold onto it as you pull. If you're dealing with a screw cap, you can unscrew it by turning it counter-clockwirse.
Step 3: Remove the old bulb.
Once the wires have been disconnected, you should be able to remove the back of the headlight holder and remove the old bulb by holding onto the base. In some cases, you may have to rotate the bulb a bit to get it free.
Step 4: Clean and install the new bulb.
Handle the new bulb with tissues or gloves -- you don't want oils from your skin getting on it. You should also give it a good cleaning with an alcohol wipe before you install it. Once the bulb is ready, stick it into the base of the plug. If it's installed correctly, none of the bulb's rubber gasket will be showing. Once the bulb is in you can put the headlight holder back in place and plug the power wires back in. Make sure you test the bulb by turning on your headlights.
Extra: Replacing Tail Light Bulbs
The process for replacing rear tail lights (including your brake lights) is slightly different from working with your headlights. On some models the housing that includes the bulb is unscrewed from the outside, and on others you must unscrew it from inside the trunk. Once you've unscrewed the housing you may have to deal with tabs, screws or small knobs to open the tail light cover and access the bulb (make sure not to lose the screws if you need to remove them). You won't need to remove the electrical wiring, but make sure you don't pull out the housing too far, so you don't rip the wires.
To unscrew the bulb, you should be able to pull it out directly (most modern vehicles are like this) or push it in and unscrew at the same time. Once the new bulb is in, replace the housing and reattach it (screws, tabs, knobs, etc.). Again, make sure you test the bulb by putting the key in the ignition and trying the brakes.
